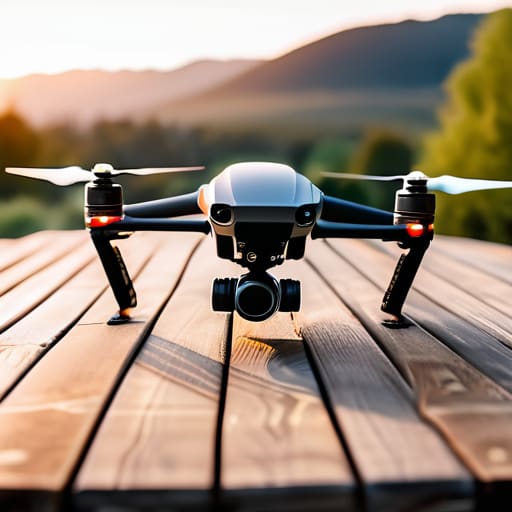
I was out in the backyard last weekend, tinkering with an old Marantz receiver, when I saw a neighbor struggling with a brand-new flying gadget that looked more like a toy than a tool. It was one of those high-priced, flashy models that promises the world but feels like it’s held together by nothing but hope and cheap glue. The market is absolutely flooded with marketing fluff designed to separate fools from their hard-earned money, especially when it comes to drones for photography. You see these glossy advertisements claiming you need a thousand-dollar sensor to get a decent shot, but most of that is just noise meant to hide a lack of real build quality.
I’m not here to sell you on the latest shiny trend or some over-engineered piece of junk that’ll break the first time the wind picks up. My goal is simple: I want to help you find a machine that actually works when you need it to. I’ll be looking at the hardware, the flight stability, and the actual image output to tell you which models are worth your investment and which ones are just expensive plastic. Let’s get down to the brass tacks of what actually matters.
Table of Contents
Dont Get Fooled by Marketing the Best Drone Camera Sensors
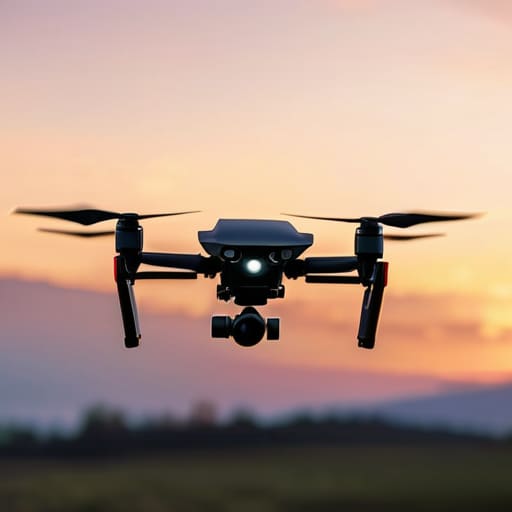
Look, the marketing departments will try to sell you on “megapixels” like they actually mean something. They don’t. I’ve seen plenty of gadgets boast about high numbers only to produce images that look like they were washed in a bucket of mud. When you’re looking at best drone camera sensors, you need to stop looking at the resolution and start looking at the physical size of the sensor itself. A smaller sensor is just a way to pack more cheap components into a tiny housing, and it’ll fail you the moment the sun goes down.
If you want to get serious about 4K aerial cinematography, you need a sensor that can actually handle light without turning your footage into a grainy mess. I always tell people: a larger sensor provides a better dynamic range, which is the difference between a professional-looking landscape and a washed-out snapshot. Don’t let them distract you with flashy software gimmicks; invest in the hardware that actually captures the light correctly. If the sensor is undersized, no amount of post-processing is going to save your shot.
Why 4k Aerial Cinematography Demands More Than Just Hype
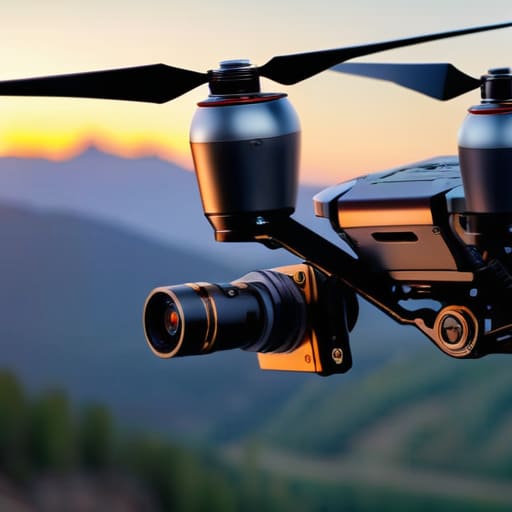
Look, I see these marketing brochures every week, and they all scream about “4K resolution” like it’s the magic word that solves everything. It isn’t. Anyone can slap a high-resolution sensor on a cheap frame, but if the hardware can’t handle the data or the movement is jittery, you’ve just bought a very expensive way to record shaky, digital noise. True 4K aerial cinematography requires a marriage of high bitrates and mechanical precision. If the processor can’t keep up with the sheer volume of data being pushed through the pipeline, your footage will look compressed and amateurish, no matter what the box claims.
Then there’s the issue of stability. You can have the finest lens in the world, but if the hardware lacks a robust drone gimbal stabilization system, your professional shots will look like they were filmed from a vibrating washing machine. I’ve seen too many hobbyists get caught up in pixel counts while ignoring the actual mechanical dampening required to keep a camera steady in a light breeze. Don’t let them sell you on numbers alone; look for the mechanical integrity that keeps the frame level when the wind picks up.
Five Things the Salesmen Won't Tell You Before You Buy
- Check the wind resistance ratings, not just the flight time. A drone that stays in the air for thirty minutes is useless if it gets tossed around like a paper plane the second a stiff breeze kicks up. Look for something with actual stability, not just a high battery capacity.
- Prioritize mechanical gimbal quality over software stabilization. I’ve seen plenty of “smart” drones try to fix shaky footage with digital processing, and it looks like garbage. If the gimbal isn’t solid and well-built, your footage will never look professional.
- Don’t ignore the controller’s build quality. If the remote feels like a cheap toy made of thin, hollow plastic, the internal components probably are, too. You want something with decent tactile feedback and a screen that doesn’t wash out in direct sunlight.
- Invest in a real set of spare propellers and a proper carrying case. Most people treat these things like they’re indestructible, but one minor clip against a tree branch and you’re grounded. If you don’t have the hardware to fix it on-site, you’re just wasting your time.
- Look at the data transfer speeds. There is nothing more frustrating than capturing a beautiful shot only to spend an hour waiting for the file to move to your device because the wireless connection is sluggish. High-resolution files need a robust connection, or you’re just spinning your wheels.
The Bottom Line Before You Open Your Wallet
Stop chasing the highest megapixel count on the box; if the sensor size is tiny, you’re just looking at high-resolution noise and a waste of money.
Real 4K video is useless if the drone’s processor can’t handle the bitrate, so check the actual encoding specs, not just the marketing buzzwords.
Prioritize build quality and flight stability over fancy software features, because a drone that can’t hold its position in a light breeze is just an expensive way to crash.
## Hardware Over Hype
“I’ve seen enough ‘cutting-edge’ gadgets end up in a junk drawer to know the difference between a professional tool and a toy. When you’re thirty feet in the air, you don’t need a fancy app or a glowing LED; you need a solid sensor and a chassis that won’t buckle under a stiff breeze.”
Roland Delacroix
The Bottom Line
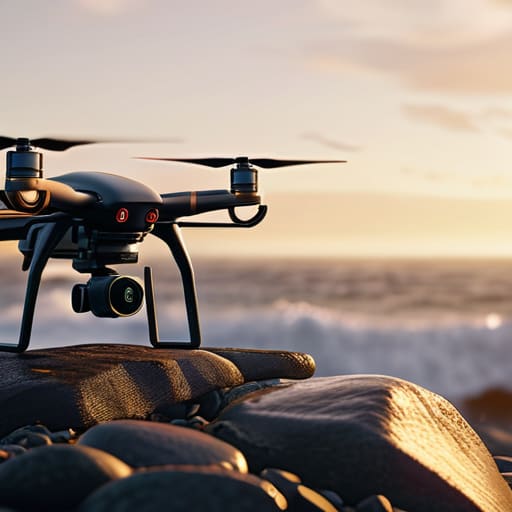
At the end of the day, choosing a drone shouldn’t feel like you’re being sold a dream by a marketing department. We’ve looked at why you can’t cut corners on the sensor size and why that 4K resolution needs to be backed up by a stable, reliable airframe. If you ignore the hardware specs and just chase the flashy box art, you’re going to end up with a piece of expensive plastic that fails you the moment the wind picks up or the light starts to fade. Stick to the fundamentals: prioritize a sensor that can actually handle the dynamic range you need and a build quality that suggests the machine was engineered to last, not just assembled to meet a quarterly quota.
I know it’s easy to get lost in the digital noise and the endless stream of new releases, but don’t let the hype rob you of the joy of capturing something meaningful. A drone is just a tool, and like any good tool in my workshop, its value is measured by its ability to perform when it counts. Once you find that right balance of reliability and capability, stop worrying about the specs on the page and start looking at the horizon. Get out there, fly something that won’t let you down, and focus on the shot. That’s where the real work—and the real reward—actually happens.
Frequently Asked Questions
How much battery life am I actually going to get once I start running the camera and gimbal?
Here is the hard truth: forget those glossy brochures claiming thirty minutes of flight time. Those numbers are measured in a vacuum with no wind and zero hardware strain. Once you engage the gimbal and start pulling data through that 4K sensor, your battery is going to drain significantly faster. In real-world conditions—with a bit of breeze and the camera working hard—you should realistically expect closer to twenty or twenty-two minutes. Plan accordingly.
Is it worth paying a premium for a drone with obstacle avoidance, or is that just another way to pad the price tag?
Look, if you’re flying in a wide-open field, you can probably skip it. But the moment you’re navigating near trees or a backyard fence, that “premium” feature becomes your insurance policy. I’ve seen too many folks lose a three-hundred-dollar piece of kit because they underestimated a branch. It’s not just marketing fluff; it’s the difference between a successful shoot and a pile of broken plastic on your lawn. Pay the extra bit.
What’s the real difference between a hobbyist drone and something built for professional-grade photography?
Look, it comes down to reliability and control. A hobbyist drone is essentially a flying toy—it’s built to look good in a brochure and handle a few casual shots. But if you’re doing professional work, you need a machine that won’t quit when the wind picks up. Professional gear offers redundant systems, better data encryption, and, most importantly, manual overrides that don’t rely on some buggy piece of software to keep you in the air.