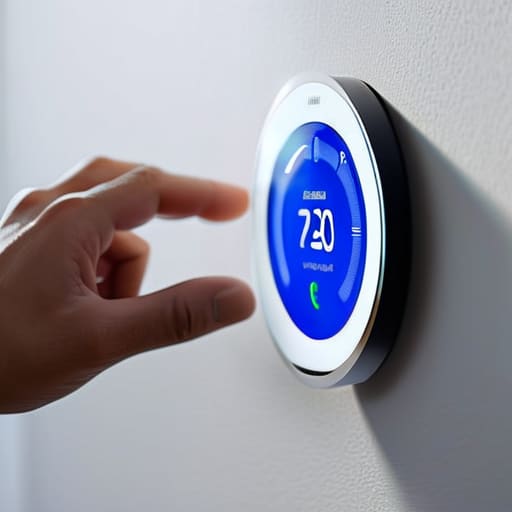
I was sitting on my workshop floor last Tuesday, staring at a pile of colorful wires and a sleek, white plastic slab that was supposed to make my life “easier,” but instead felt like a puzzle designed by someone who has never held a screwdriver. The marketing promised a seamless experience, but the reality of smart thermostat setup is often a mess of incompatible voltage and confusing apps that demand more attention than a high-maintenance pet. I’ve spent thirty years in systems engineering, and if there is one thing I know, it’s that complexity is usually just a mask for poor design.
I’m not here to sell you on the “magic” of a connected home or some fancy cloud-based algorithm. What I am going to give you is a practical, engineer-approved roadmap to getting your unit installed without blowing a fuse or losing your mind. We are going to skip the marketing fluff and focus on the actual hardware—checking your C-wire, verifying your terminal connections, and ensuring the software doesn’t become a useless paperweight the moment you walk away. Let’s get to work and do this right the first time.
Table of Contents
- Step-by-Step Instructions
- Verify Your Hvac System Compatibility Before You Buy
- Mastering the Smart Thermostat Wiring Diagram Without the Stress
- Five Things the Salesman Won't Tell You Before You Start
- The Bottom Line: Don't Get Burned by the Hype
- The Golden Rule of Installation
- Don't Let the Tech Win
- Frequently Asked Questions
Guide Overview
Tools & Supplies
- Screwdriver (Phillips or Flathead for terminal screws)
- Smartphone (For app configuration and Wi-Fi setup)
- Drill (Optional, for mounting new wall anchors)
- Smart Thermostat (1 unit)
- Wall Anchors and Screws (Included with unit)
- Electrical Tape (Small amount for wire management)
Step-by-Step Instructions
- 1. Before you even think about unscrewing anything, go to your breaker box and kill the power to your HVAC system. I’ve seen too many folks try to play it safe by just turning the thermostat to “off,” but that won’t stop a stray wire from shorting out your control board. You want zero chance of a spark while you’re working.
- 2. Pop that old faceplate off and take a good, long look at the wiring. Don’t trust the labels on the wires themselves; they’re often wrong. Grab that notepad I mentioned and sketch out exactly where each wire goes—which one is in the R terminal, which is the C, and so on. If you don’t document this now, you’ll be staring at a bird’s nest of copper later wondering why your AC won’t kick on.
- 3. Now, here is where most people stumble: the C-wire. Most modern smart thermostats need a “common” wire to provide constant power, or they’ll just die on you. If you don’t see one tucked in the wall, don’t panic, but don’t try to wing it by just stripping more copper. You might need a power extender kit, which usually comes in the box, but you’ll need to follow its specific wiring diagram to the letter.
- 4. Once you’ve got your map, pull the old baseplate off and mount the new one. Use a level—not your “eye-balling it” method—because if that thing is crooked, it’s going to drive you crazy every time you walk past it. Secure the screws firmly, but don’t over-torque them; these plastic housings aren’t built like the heavy-duty steel components I used to work with, and you’ll crack the casing if you’re too aggressive.
- 5. Feed those wires through the new base and tighten the terminal screws until the wire is snug. Give each one a gentle tug to make sure it’s actually seated in the terminal. If a wire slips out while you’re trying to snap the faceplate on, you’re going to have a much longer afternoon than you planned.
- 6. Snap the display unit onto the base, head back to the breaker, and flip the power back on. If the screen lights up, you’ve cleared the first hurdle. If it stays dark, don’t start cursing the manufacturer just yet; nine times out of ten, it’s a loose connection or a blown fuse in the furnace caused by a wire touching the wrong terminal during installation.
- 7. Finally, get to the software side of things. The app will walk you through the Wi-Fi connection, but don’t get distracted by all the “smart features” and “energy savings” fluff they try to sell you. Focus on the core scheduling settings first. Make sure the system actually triggers the heat and the cooling properly before you spend an hour customizing your lighting scenes or weather reports.
Verify Your Hvac System Compatibility Before You Buy
Before you go clicking “buy” on some shiny new gadget, you need to pull the cover off your current thermostat and actually look at what’s behind it. Most of these modern units aren’t just plug-and-play; they require a constant stream of power to keep that Wi-Fi radio running. I’ve seen far too many folks get halfway through their smart thermostat installation steps only to realize they’re missing the one crucial wire that makes the whole thing tick.
Specifically, you’re looking for a “C-wire”—that common wire that provides continuous 24V power. If you open your wall box and see nothing but two or three thin wires tucked into the drywall, you’ve got a problem. You can try to find a workaround with a power extender kit, but I’d rather you check your HVAC system compatibility upfront. It’s much easier to verify your wiring than it is to return a piece of expensive plastic because it won’t even turn on. Don’t let the marketing fluff convince you it’s simple; verify the hardware first.
Mastering the Smart Thermostat Wiring Diagram Without the Stress
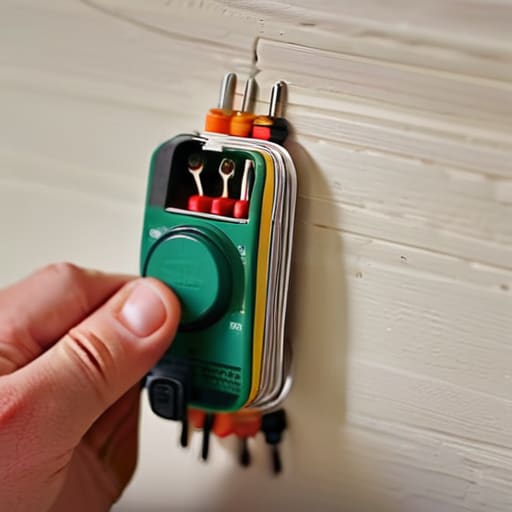
Now, don’t let that colorful little piece of paper they call a smart thermostat wiring diagram intimidate you. It looks like a mess of spaghetti, but it’s actually quite logical if you approach it like a real engineer. Before you start stripping any wires, take a clear photo of your old setup. I’ve seen too many folks pull everything out, lose track of which wire went where, and end up staring at a dead furnace. Label every single wire with the stickers provided in the box before you disconnect a thing. If the letters on your old terminal don’t match the new ones, don’t guess—check the actual wire color and the manual.
The biggest headache I see is the dreaded “C-wire” issue. Most of these modern, fancy units need constant power to keep their Wi-Fi radios running, and if you don’t have that common wire, you’re going to have a bad time. If your old setup is missing it, don’t just assume you can bypass it with some cheap adapter. Follow a proper C-wire connection guide or consider a professional if the wiring looks more like a bird’s nest than a circuit. Measure twice, wire once.
Five Things the Salesman Won't Tell You Before You Start
- Label your wires before you touch a single screw. I don’t care how easy the app claims it is; once those colored wires pop out of the wall and go back into the drywall, you’re looking at a three-hour headache you didn’t ask for. Use the stickers that come in the box, or better yet, use my old masking tape and a Sharpie.
- Check your C-wire connection twice. These modern gadgets are hungry for power, and if you think you can just “bypass” the common wire, you’re asking for a flickering screen or a system that shuts down in the middle of a heatwave. If you don’t have one, don’t wing it—buy a power adapter.
- Don’t mount it right next to a drafty window or a heat vent. I’ve seen plenty of folks complain their thermostat is “broken” when, in reality, it’s just sitting in a pocket of hot air. It needs to be on an interior wall, away from direct sunlight, or the readings will be junk.
- Take a photo of the old wiring before you disconnect anything. Digital manuals are great until your Wi-Fi goes down or your phone dies mid-install. Having a clear, high-resolution photo of exactly where the R, W, and Y wires sat in the old unit is your best insurance policy.
- Test the system manually before you walk away. Once it’s on the wall, don’t just trust the app. Go turn the heat up and listen for the furnace to kick in, then switch it to cooling and make sure the AC actually engages. You want to find the problems while you still have your tools in your hand, not at 2:00 AM when the house is freezing.
The Bottom Line: Don't Get Burned by the Hype
Before you even crack the box, double-check that your C-wire is actually there; if you’re flying blind without constant power, no amount of software updates will save that thermostat from acting up.
Treat the wiring like you would a vintage amplifier—measure twice, connect once, and if a terminal feels flimsy or doesn’t seat properly, don’t force it just to get it done.
Stop trying to automate everything through a buggy app; make sure the physical interface on the wall is intuitive enough that you can actually adjust the temperature when the Wi-Fi decides to take a nap.
The Golden Rule of Installation
I’ve seen enough blown fuses and fried control boards to know one thing: a smart thermostat isn’t a toy, and it isn’t a magic wand. If you skip the step of verifying your C-wire or ignore a loose terminal connection just to get the app running faster, you aren’t being efficient—you’re being reckless with your own money.
Roland Delacroix
Don't Let the Tech Win
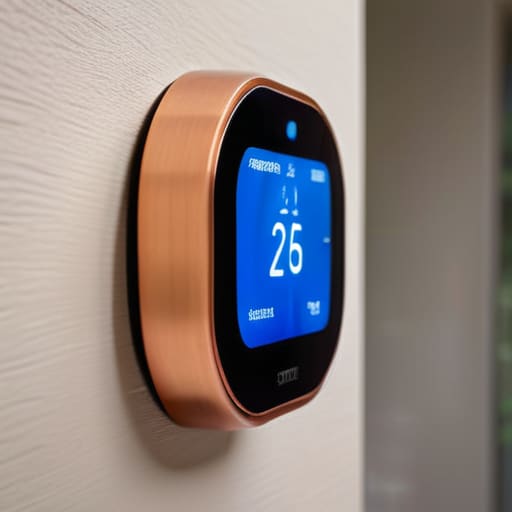
At the end of the day, setting up a smart thermostat shouldn’t feel like you’re trying to crack a safe. We’ve covered the essentials: you checked your HVAC compatibility so you didn’t waste a dime, you verified your C-wire was actually present, and you sat down with that wiring diagram instead of just guessing and hoping for the best. If you followed those steps and the unit is finally communicating with your furnace, you’ve done the heavy lifting. Most of the headaches people run into come from rushing the installation or ignoring the fine print in the manual, but if you took the time to do it right, you’ve avoided the most common pitfalls that lead to a service call.
My advice? Once it’s up and running, stop fiddling with the app every five minutes. These devices are meant to work for you, not the other way around. Technology is at its best when it’s reliable and invisible, quietly managing your home’s climate while you focus on more important things. You’ve put in the work to ensure your system is efficient and properly wired; now, let the hardware do what it was engineered to do. You’ve mastered the machine, so sit back and enjoy the comfort you’ve earned.
Frequently Asked Questions
I don't see a "C-wire" in my old thermostat box; do I really need to tear open my walls to install this thing?
Don’t go swinging a sledgehammer at your drywall just yet. In my day, we didn’t have these power-hungry gadgets, so many old systems skipped the C-wire entirely. If you’re missing it, you’ve got three real options: use a C-wire adapter kit, install a plug-in transformer, or look for a thermostat that runs on batteries. It’s a nuisance, I know, but it beats a massive renovation just to control your heating.
If I mess up the wiring and the furnace doesn't kick on, am I going to blow a fuse in my main electrical panel?
Not likely. If you’ve got a short circuit in the low-voltage wiring, you aren’t going to trip the main breaker for the whole house. Most modern systems have a small automotive-style fuse tucked right inside the furnace control board to protect the delicate electronics. If you mess up the wiring, you’ll probably just pop that little 3-amp or 5-amp fuse. Check the board first before you start panicking about your main panel.
Once it's finally wired up, how do I know if the sensor is actually reading the temperature correctly or if the software is just lying to me?
Don’t just take the app’s word for it. I always keep a standard mercury or digital thermometer sitting right on the table next to the unit. Once the thermostat stabilizes, compare its reading to the thermometer. If there’s a gap of more than two degrees, you’ve got a calibration issue or a draft hitting the sensor. If the software says it’s 72 but your thermometer says 68, trust the hardware, not the screen.
