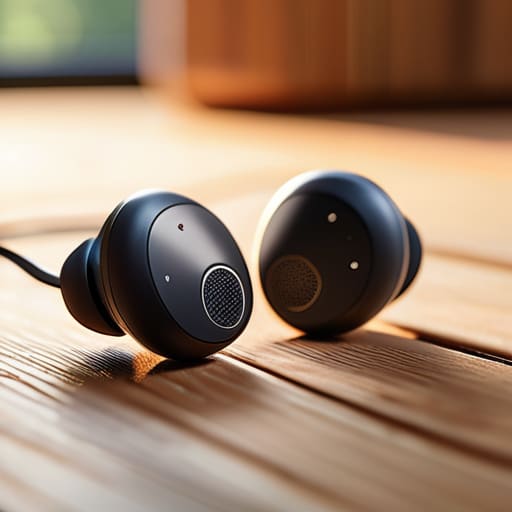
I was sitting at my workbench last Tuesday, poking at a pair of high-end buds that had suddenly gone quiet in the left ear, when it hit me: we’ve entered an era of planned obsolescence disguised as innovation. Most people think that when their audio cuts out, the internal circuitry has simply given up the ghost, so they rush out to drop another two hundred dollars on the latest model. But after thirty years in systems engineering, I can tell you that most “broken” tech is actually just neglected. The truth is, most issues with your gear stem from a total lack of proper wireless earbud maintenance, leaving them choked by debris and salt buildup that no software update can fix.
I’m not here to sell you some specialized, overpriced cleaning kit or a subscription service for your gadgets. My goal is to give you the straight talk on how to actually preserve the hardware you’ve already paid for. I’ll show you the practical, low-tech methods to keep your drivers clear and your charging contacts conductive, ensuring your investment doesn’t end up as nothing more than expensive plastic junk in a junk drawer.
Table of Contents
Preventing Earwax Buildup Before Your Sound Dies
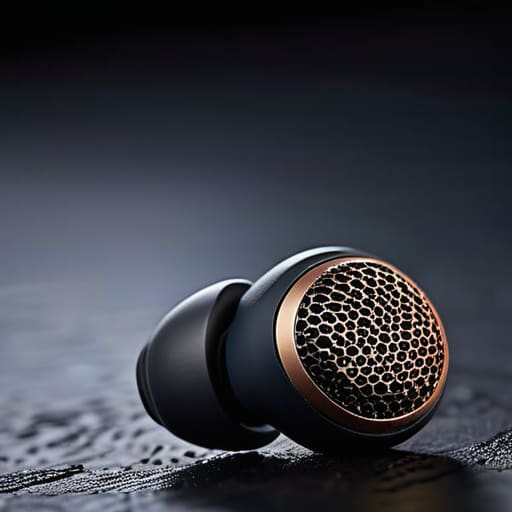
Look, you can buy the most expensive driver setup on the market, but it won’t matter if the sound is muffled by a wall of biological debris. Most people wait until they can’t hear a thing before they even think about preventing earwax buildup, but by then, you’re already playing damage control. I’ve seen too many guys toss perfectly good hardware because they thought the speakers were “blown,” when in reality, the mesh was just choked.
The trick is to be proactive rather than reactive. I always tell my friends that a bit of discipline goes a long way; make it a habit to wipe down your buds with a dry, lint-free cloth every time you take them out of the case. It sounds tedious, but following basic earbud hygiene best practices is the only way to ensure you aren’t just throwing money down the drain. If you catch the buildup while it’s still superficial, you won’t find yourself needing to dig around with a toothpick like you’re performing surgery on a piece of expensive plastic.
Cleaning Earbud Mesh Tips Without Breaking the Tech
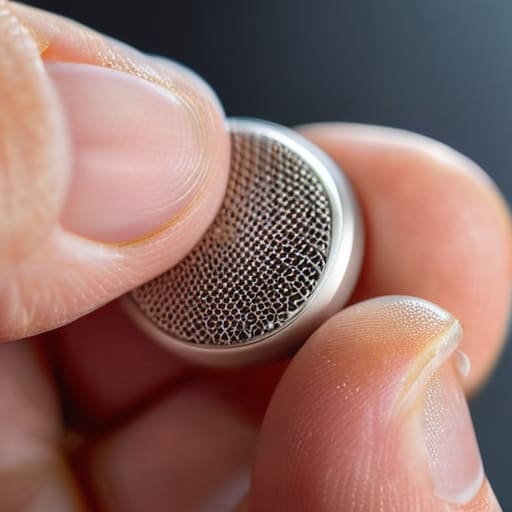
Now, let’s talk about the most delicate part of the whole operation: the mesh. This is where most people mess up. They see a clog and grab a toothpick or something equally aggressive, thinking they can just dig it out. Stop right there. If you puncture that fine metal screen, you’ve just turned a hundred-dollar piece of kit into a paperweight. When it comes to cleaning earbud mesh tips, you need to be surgical, not destructive. I always keep a soft-bristled toothbrush and some high-percentage isopropyl alcohol in my kit. Use the brush to gently flick the debris outward rather than pushing it deeper into the driver.
If the clog is stubborn, don’t go hunting for a needle. A bit of adhesive putty—the kind used for crafts—can be pressed lightly against the mesh to lift away the gunk. It’s a much safer way of practicing earbud hygiene best practices without risking a mechanical failure. Just remember: moisture is the enemy of the electronics inside, so never soak these things. A light dampness is fine, but if water gets past that mesh, you’re looking at a permanent short circuit. Keep it dry, keep it gentle, and you won’t be replacing them in six months.
Five Rules to Keep Your Gear from Turning Into E-Waste
- Treat the charging case like a piece of precision machinery. I’ve seen too many people toss their buds into a pocket full of lint and grit; if those gold-plated charging pins get coated in gunk, you aren’t getting a charge, and you’re just left with an expensive paperweight.
- Stop using those flimsy, cheap paper towels to wipe down your tech. They leave behind microscopic fibers that can get lodged in the seams. Grab a clean, high-quality microfiber cloth—the kind you’d use on a camera lens—and keep it in your kit.
- Watch your moisture levels like a hawk. Even if the box claims they’re “water-resistant,” that’s not the same as being waterproof. Don’t go from a heavy sweat session straight into a hot shower; let the moisture evaporate naturally so you don’t trap humidity inside the housing.
- Keep the software updated, but don’t just click ‘OK’ blindly. Check the manufacturer’s notes to ensure a firmware update won’t brick your connection or drain your battery life. A system update should improve reliability, not introduce new bugs.
- Store them in a controlled environment. I wouldn’t leave a vintage amplifier in a damp basement, and you shouldn’t leave your earbuds on a car dashboard in the sun. Extreme heat and humidity are the fastest ways to degrade those tiny lithium-ion batteries.
The Bottom Line on Keeping Your Gear Alive
Stop being lazy with hygiene; a quick wipe-down after use prevents the wax buildup that turns decent earbuds into expensive paperweights.
Put down the sharp objects—never use a needle or a toothpick to dig at the mesh, or you’ll puncture the driver and kill the sound for good.
Treat the electronics with respect by using nothing but a dry brush or a bit of isopropyl alcohol; water and aggressive scrubbing are a fast track to a landfill.
## A Lesson in Longevity
“I’ve seen enough high-end gear end up in the scrap heap just because someone was too lazy to wipe down a bit of debris. You don’t need a technician to keep these things running; you just need a bit of common sense and the discipline to treat your tools with a little respect.”
Roland Delacroix
Don't Let Your Tech Turn Into E-Waste
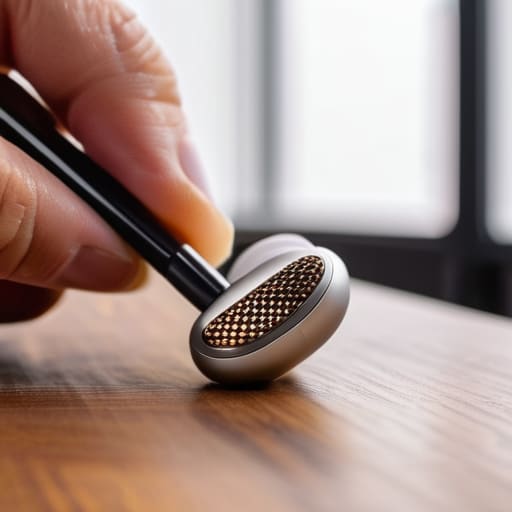
Look, at the end of the day, keeping your earbuds alive isn’t rocket science, but it does require a bit of discipline. You’ve got to stay ahead of the earwax buildup, treat those delicate mesh screens like they’re made of glass, and keep the charging contacts clear of any grime. If you follow these steps, you aren’t just cleaning a gadget; you are protecting your investment. I’ve seen too many people throw away perfectly good hardware simply because they were too lazy to spend five minutes with a soft brush. Don’t be that person. Treat your gear with respect, and it’ll actually last long enough to be worth the money you spent on it.
We live in an era where everything feels disposable, designed to be tossed in a drawer the moment a single component fails. But as someone who spent decades building machines that were meant to endure, I refuse to accept that mindset for my own tools. You don’t need to be a systems engineer to maintain your electronics, you just need to refuse to settle for planned obsolescence. Take care of what you own, keep it clean, and stop letting manufacturers win by selling you junk that dies in a year. Build a habit of maintenance, and you’ll find that even the most modern tech can stand the test of time.
Frequently Asked Questions
Can I use isopropyl alcohol to clean the charging contacts, or am I going to fry the electronics?
You can use it, but don’t go overboard. Use 70% isopropyl alcohol—nothing higher, and certainly nothing lower. Grab a Q-tip, dampen it slightly so it’s not dripping, and give those gold contacts a gentle swipe. If you soak them, you’re asking for a short circuit. The goal is to strip away the skin oils and oxidation, not to drown the hardware. Keep it dry, keep it quick, and you’ll be fine.
Is it actually safe to submerge my earbuds to get them clean, or is that just asking for a short circuit?
Listen, I’ve seen enough fried circuit boards to tell you this: do not, under any circumstances, dunk those things in a glass of water. Even if the box claims they’re “water-resistant,” that’s not the same as being waterproof. Water resistance is about sweat and a light drizzle, not a deep soak. You’ll likely end up with a short circuit and a very expensive paperweight. Stick to a damp cloth and leave the submersion to your coffee mug.
How often should I be replacing the silicone tips before they start causing irritation or losing their seal?
Look, don’t wait until your ears are red and angry to swap them out. I’d say inspect them every few weeks. If the silicone feels tacky, starts stretching out, or develops tiny tears, toss them. Once that seal goes, you’re just listening to nothing but noise and wasted bass. I usually keep a spare set of high-quality replacements in my desk drawer; it’s a cheap fix compared to buying a whole new pair of buds.
